How to create sales

Point!
- To access the sales list, click on "Sales List" under Sales in the sidebar.
Sales List

- Here, you can see details like date, branch, invoice number, customer, quantity, total amount, paid amount, due amount, and payment status. You can, view, edit, or delete entries as needed.
- You can also print invoices, challans, and gate passes from this page.
Add Sale

- To access sales addition, click on "Add Sales" under Sales in the sidebar.
Point!
- From the sidebar, click 'Sales' to access the Sales module.
- Then, to add a new sale, click on the "Add Sales" button. Alternatively, you can add a sale by clicking on the "Add Sales" sub-module under the "Sales" module in the sidebar.
Step 1 /5 ( add sales page )

- This is the Add Sale page.
Step 2 /5 ( add product information )

- First, select the branch. Then, select the customer. A "Walking Customer" is a default customer without a name or phone number. You can add the customer’s name here if needed.
- Enter the product name or scan the product barcode. A table with product details will then appear.
Step 3 /5 ( Add shipping process )

- If you need to update the shipping process, simply click this section to expand it.

Step 4 /5 ( Sales summary section )

- This is the sales summary section. Enter shipping charges, select VAT, apply discounts, and add extra expenses here.
- Discounted price and VAT are charged based on the total selling price.
Step 5 /5 ( add payment )

- First, select the payment method, then the payment account, and click '+' to add a payment row.
- If needed, adjust the payment date and amount. You can add multiple payment methods, and you can also delete payment rows.
- Add a note if applicable. You can also delete payment rows.
- From sales, you can save as draft or save as a quotation.
- You can print the invoice from here.
Point!
- Click “Save as Sales” to save the sale in the sales list.
Edit Sale

- From the sales page, you can access the Edit Sale page.
Point!
- To access the edit sales option, click on "Sales List" under Sales in the sidebar. Then, from the action button in the sales list, select Edit Sales to edit the sale.
Step 1 /1

Point!
- Click the 'Update Sales' button to save changes on the Edit Sale page.
Sales view

- You can access the Sales View page from the Sales List.
Point!
- To view sales details, click the "View" button.
Step 1 /1

- Here, you can see all sales details for each invoice.
Delete sales

- Here, you can delete sales.
Point!
- To delete a sale, click the 'Delete' button.
Step 1 /1
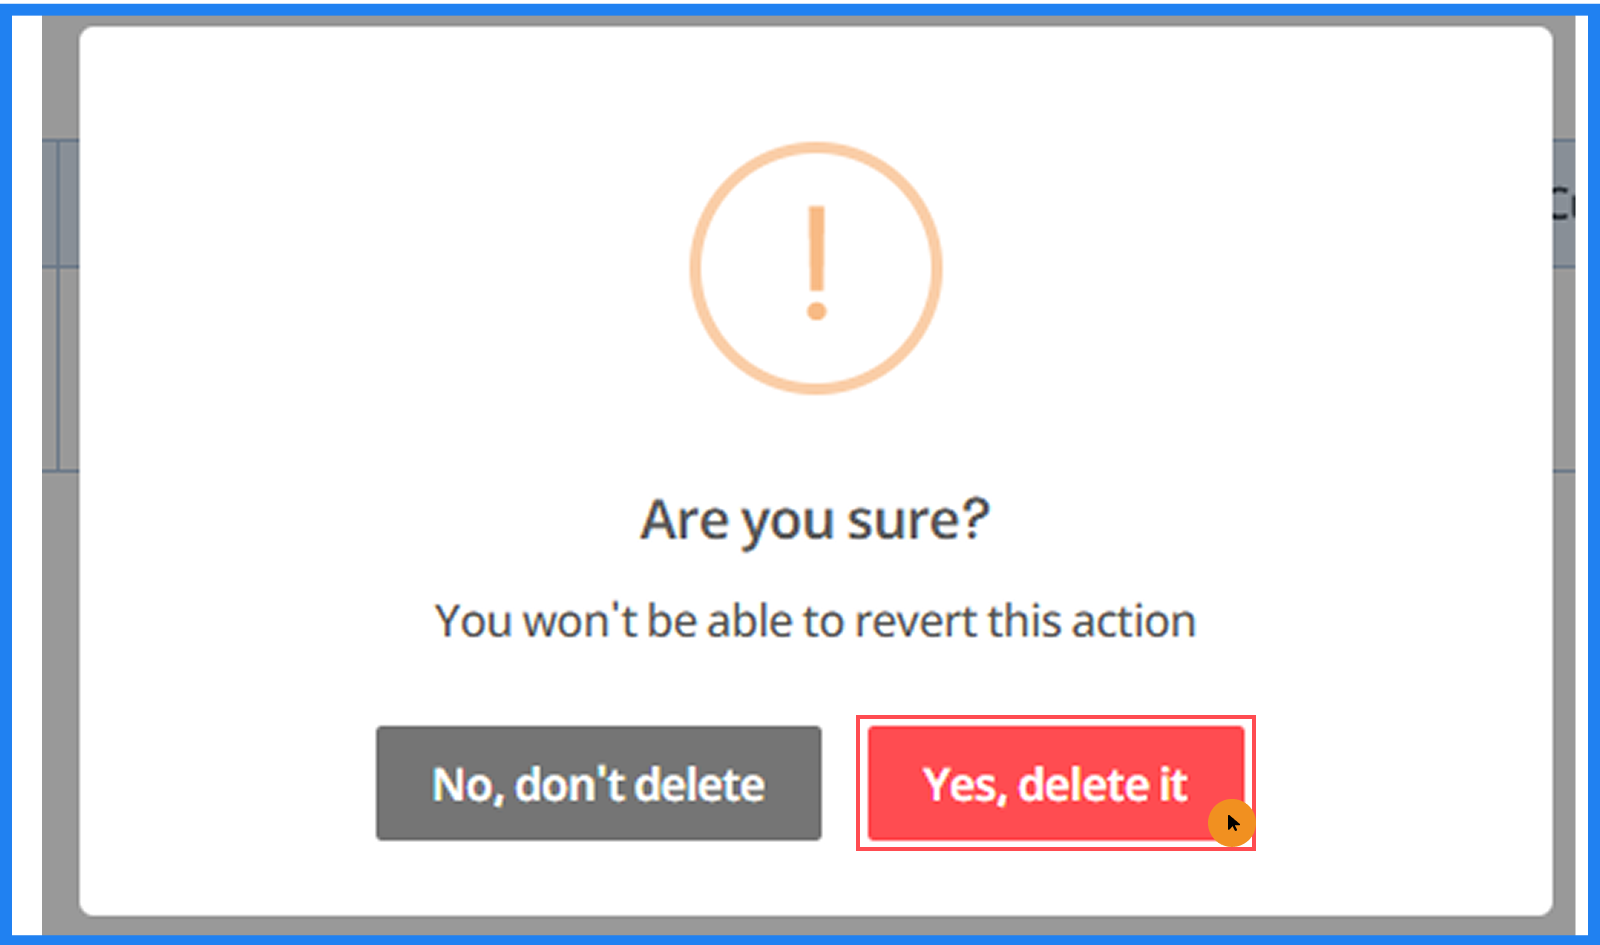
- Click 'Yes, delete it' to confirm. Click 'No, don’t delete' or outside the popup to cancel.
Print Invoice
Point!
- To print a invoice, click the 'Print Invoice' button.
Step 1 /1

- If you would like to include your business’s Terms and Conditions on your sales invoices, please enter the details in the Invoice Settings section.
Point!
- To access invoice settings , click on "Invoice Settings" under Settings in the sidebar .
- To save terms and conditions in sales invoice , click on "Update" button.
Print Gatepass

Point!
- To print a gatepass, click the 'Gatepass' button.